Quickstart: label your first video
This walks you through ingesting a video, running auto-labeling, reviewing the results, training a YOLO26 detector, and deploying it. Total time: about 15 minutes for a 60-second clip.
0. Get a Hugging Face token
Waldo uses SAM 3 for auto-labeling. SAM 3's weights live behind a license click-through, so before you install:
- Sign in at huggingface.co.
- Open the
facebook/sam3model page and click "Access repository" to accept the license. - Create a read token at huggingface.co/settings/tokens.
Keep the hf_... string handy — the installer prompts for it.
1. Bring up the stack
One command. The installer picks the right Docker profile for your platform (NVIDIA, Apple MPS, or CPU), installs missing prerequisites, prompts for the HF token up front, and starts the stack:
# macOS / Linux / WSL
curl -fsSL https://raw.githubusercontent.com/oldhero5/waldo/main/install.sh | bash
# Windows (PowerShell)
irm https://raw.githubusercontent.com/oldhero5/waldo/main/install.ps1 | iex
:: Windows (cmd.exe)
curl -fsSL https://raw.githubusercontent.com/oldhero5/waldo/main/install.cmd -o install.cmd && install.cmd && del install.cmd
To skip the prompt and run unattended:
curl -fsSL https://raw.githubusercontent.com/oldhero5/waldo/main/install.sh \
  | bash -s -- --hf-token hf_xxxxxxxxxxxxx --yes
The full set of options lives in the Installation guide.
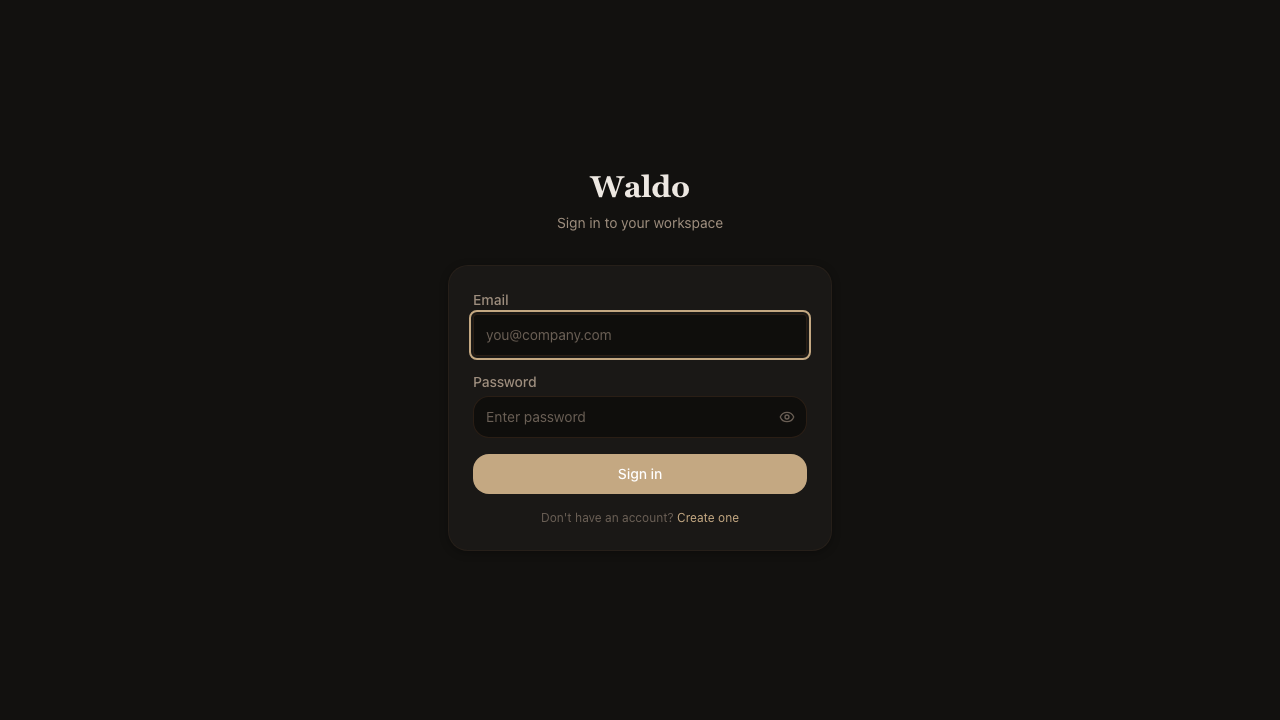
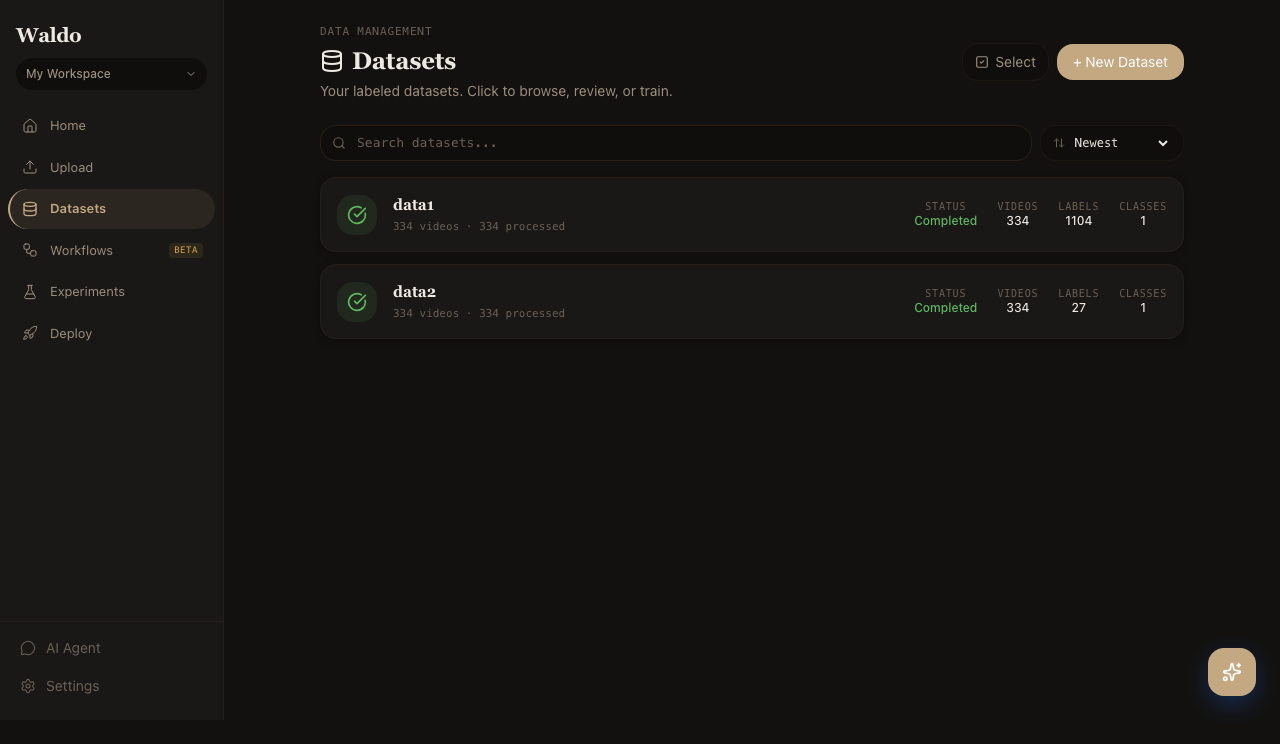
2. Sign in & create a dataset
Open http://localhost:8000 and log in with the dev defaults:
- email:
admin@waldo.ai - password:
waldopass
(Override with ADMIN_BOOTSTRAP_PASSWORD for production — see the
Configuration page.)
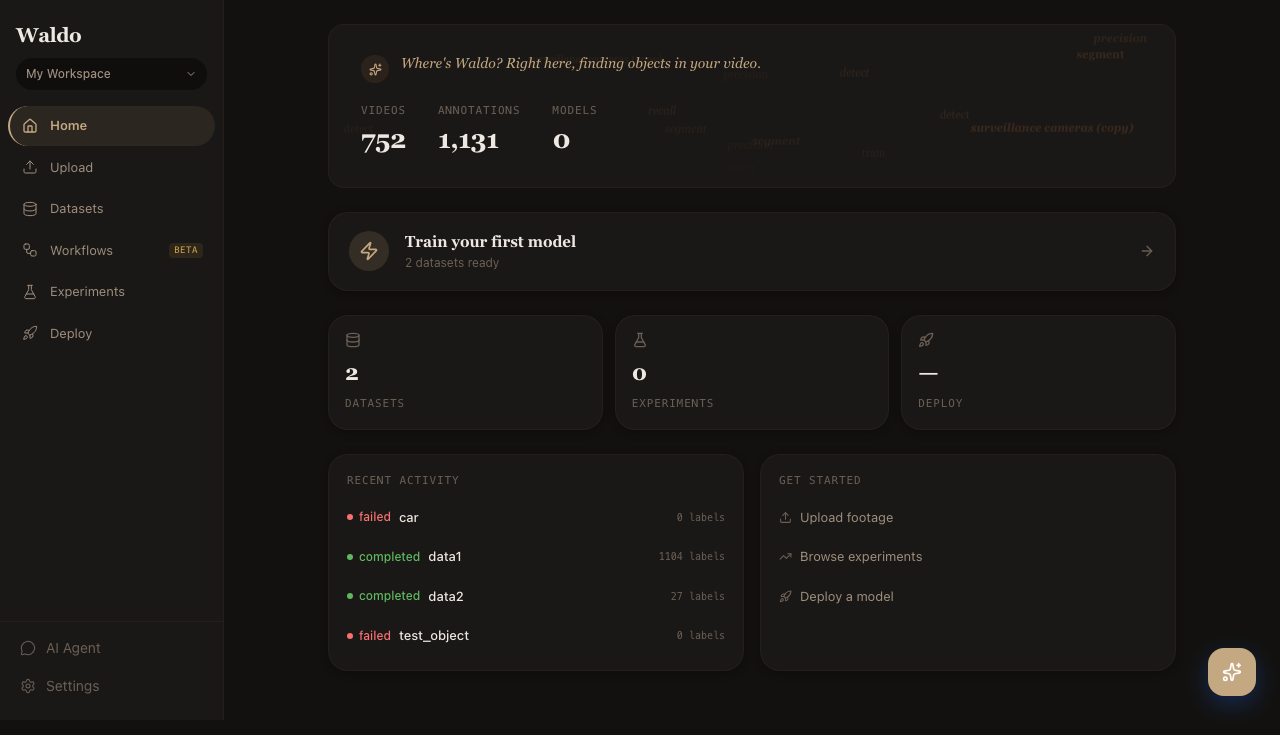
Once you're in, the dashboard greets you with workspace stats and a "next step" nudge. Head to Datasets in the sidebar.
Click + New Dataset and give it a name.
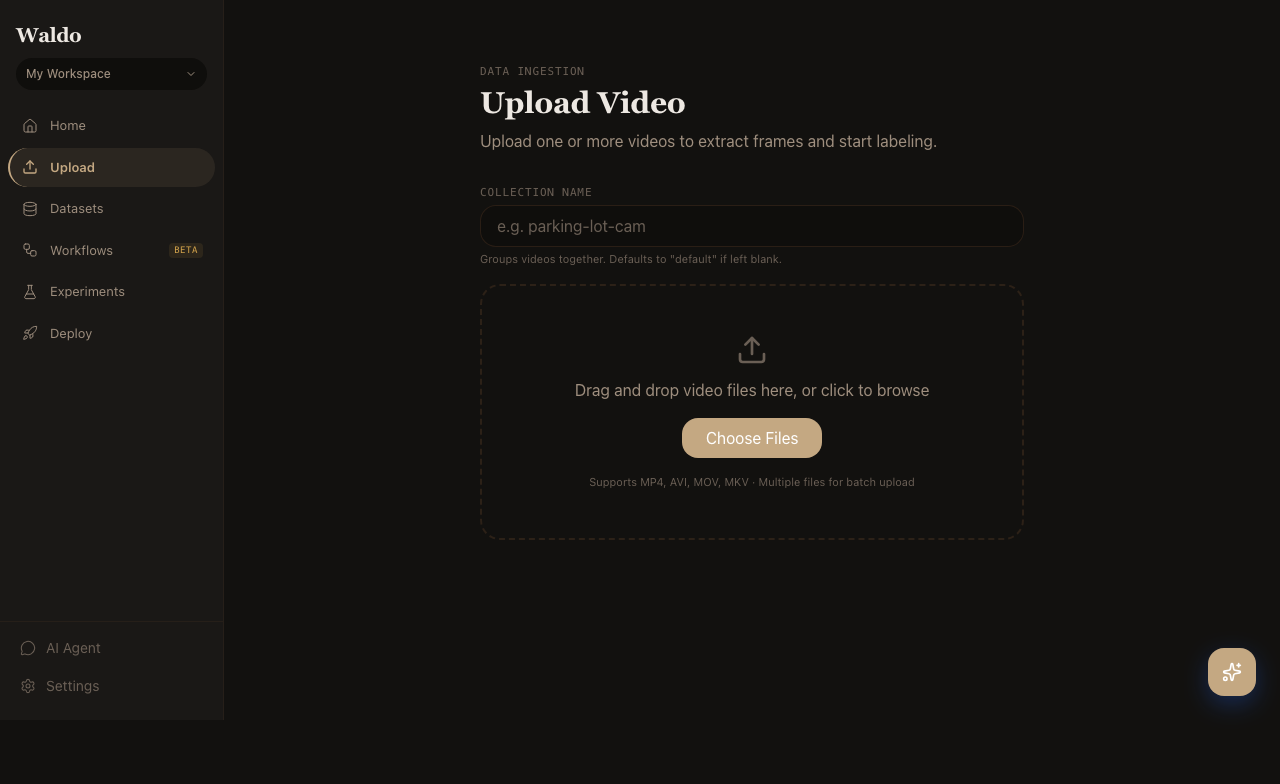
3. Upload a video
Drop a .mp4, .mov, or .mkv into the upload zone. The backend extracts metadata via FFmpeg, stores the file in MinIO, and queues frame extraction.
For batch uploads from the command line:
TOKEN=...   # JWT from POST /api/v1/auth/login
curl -X POST http://localhost:8000/api/v1/upload/batch \
  -H "Authorization: Bearer $TOKEN" \
  -F "project_id=$PROJECT_ID" \
  -F "files=@clip1.mp4" \
  -F "files=@clip2.mp4"
4. Start a labeling job
From the dataset, click Auto-label. Provide either:
- Text prompts (one per line, e.g.
person,car,truck) — SAM 3 grounded by free text. - Visual prompts — drag a box around an example object in the first frame; SAM 3 finds visually similar objects across the video.
Pick a confidence threshold (default 0.5) and resolution (1008 is a good middle ground). Click Preview to test on a handful of frames; click Start labeling to commit.
First call is slow. The labeler pulls the SAM 3 weights (~2 GB) into a Docker volume on the very first preview/job. After that, the model stays resident in GPU memory and subsequent calls run in seconds.
The job streams progress back to the UI over WebSocket. You can switch to Review as soon as the first frames complete.
5. Review
The Review canvas shows each frame with overlaid boxes. Accept, reject, edit, redraw — every action PATCHes back to the API.
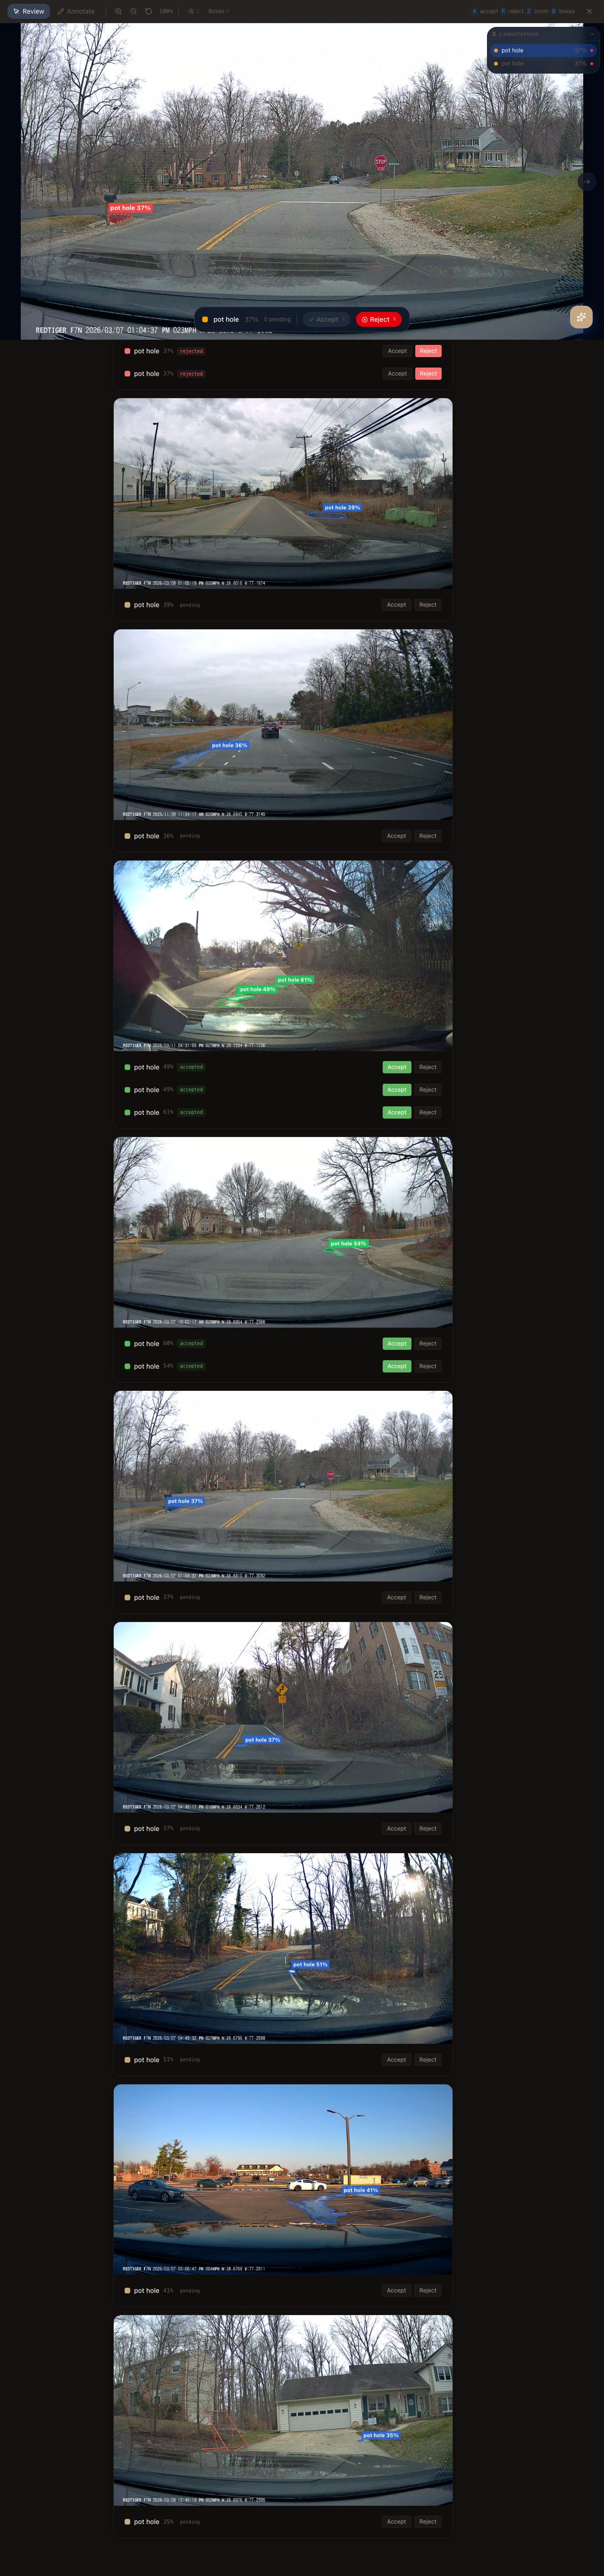
Keyboard shortcuts:
| Key | Action |
|---|---|
J / K | Prev / next frame |
Space | Toggle play |
D | Delete the highlighted box |
Shift+drag | Draw a new box |
R | Reject the whole frame |
Rejected frames are excluded from training exports.
6. Train
Open Train for the job. Pick a YOLO26 variant (yolo26n for fastest, yolo26m for a sensible default, yolo26x for max accuracy), pick an augmentation preset, and click Start training.
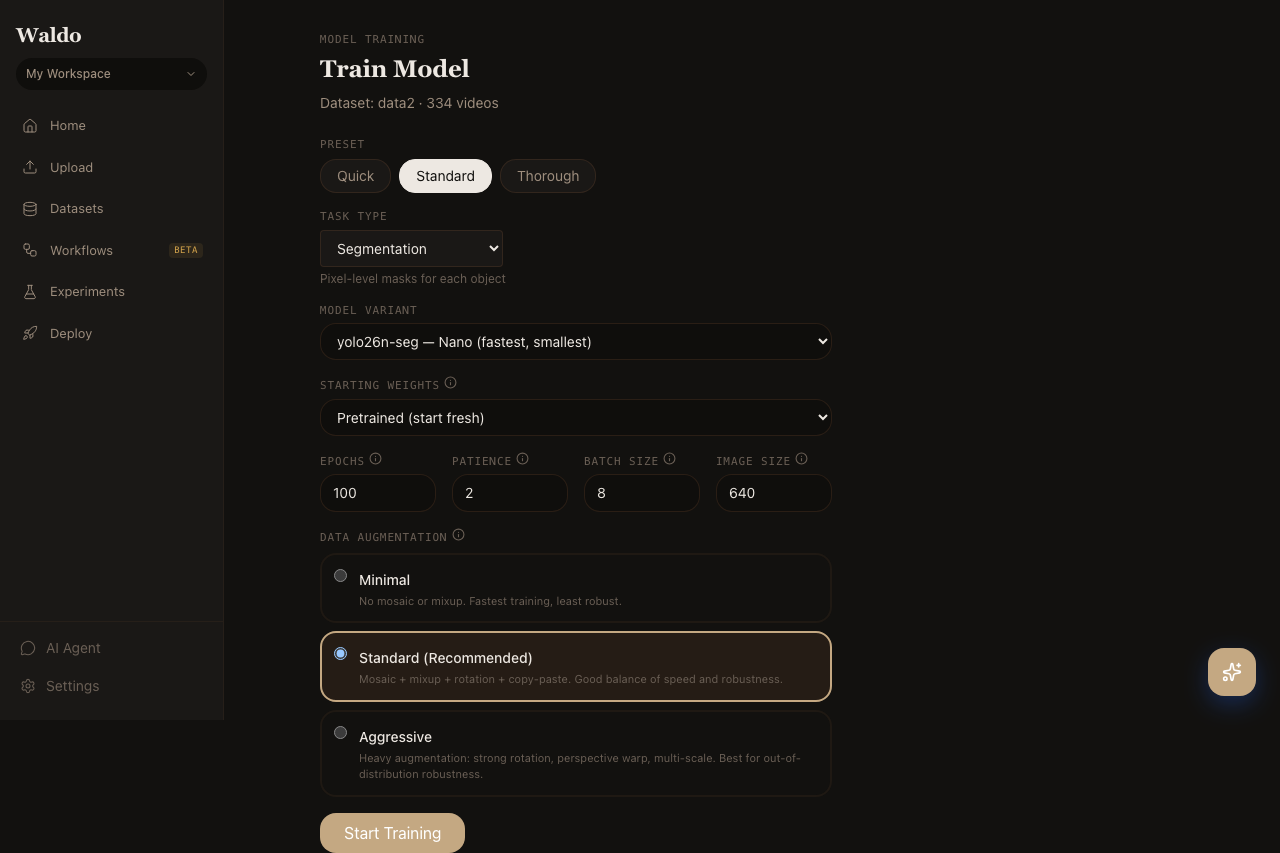
Live logs stream from the trainer worker. Loss + mAP charts auto-scroll. The trained weights register in the model registry automatically when the run finishes.
7. Deploy
Open Deploy → Models and star your new model to mark it active. The default /predict/* endpoints will use it from the next request.
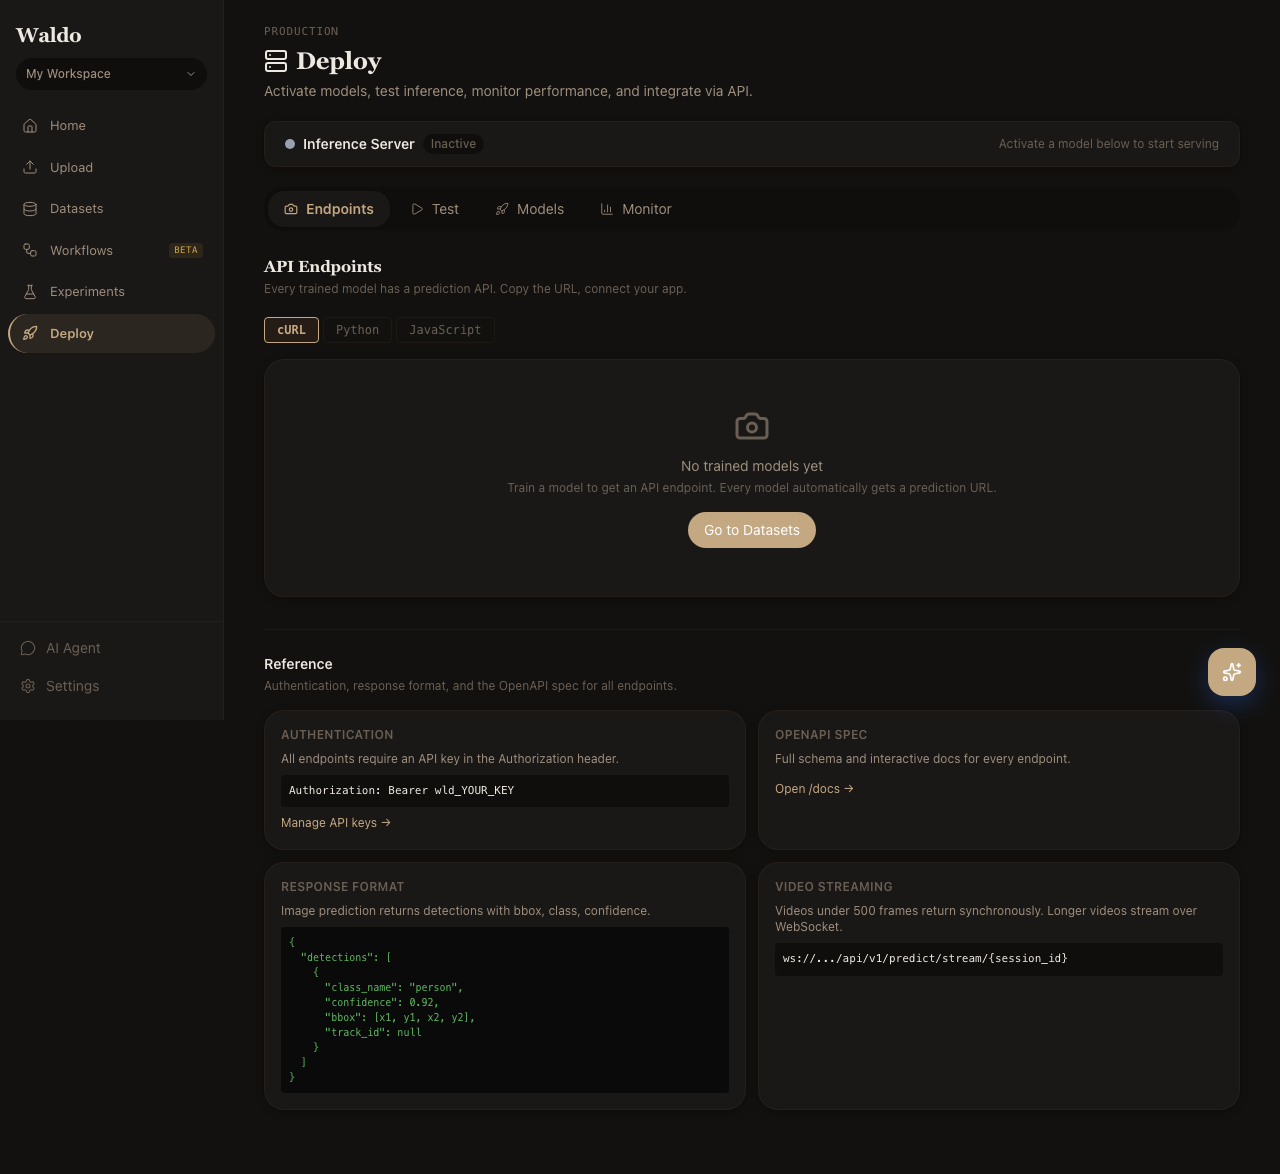
Try it from the Test tab (drag in an image), or hit the API directly:
curl -X POST http://localhost:8000/api/v1/predict/image \
  -H "Authorization: Bearer $TOKEN" \
  -F "file=@sample.jpg"
That's the round trip — raw footage to a deployed model in one session.
8. Talk to it (optional)
/agent is a local LangGraph agent that calls real Waldo tools on your
behalf — same database, same Celery dispatch, but you ask in plain English.
Try:
"What models do I have? Which one has the best mAP? Activate it."
"Recommend training settings for a 200-frame dataset on CPU."
"Start a labeling job for 'person' on my latest video."
The model (gemma4:e4b) runs in a sidecar Ollama container — nothing leaves
your host. First boot pulls ~9.6 GB; after that, chats are sub-second. Tick
Read-only in the footer to disable the action tools.
Where next
- UI Tour — every page, screenshotted and explained
- Workflow Blocks — chain SAM, YOLO, and post-processing into a graph
- Edge deployment — push the model to a Jetson or Pi+TPU
- API Reference — the full OpenAPI surface